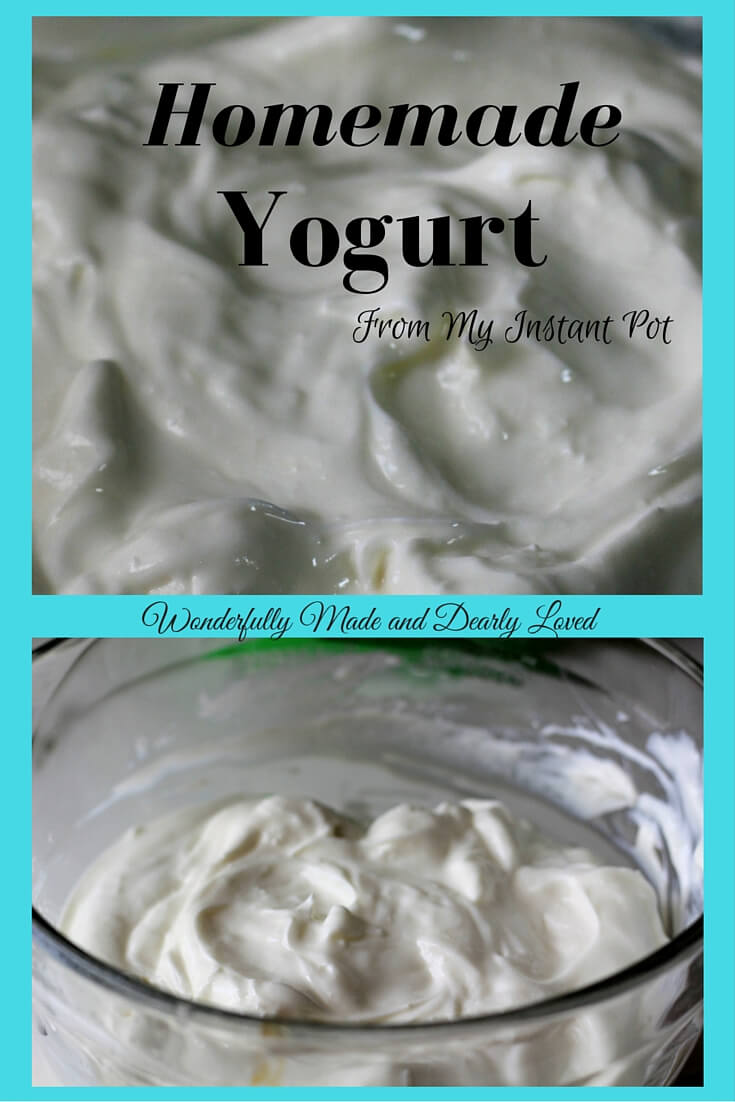
Homemade Yogurt is a staple ingredient in our house, especially Greek Style yogurt since I began following Trim Healthy Mama.
 I’ve made yogurt in my crockpot and was really excited when I got my Instant Pot for Mother’s Day because it has an actual yogurt setting.
This is the Instant Pot IP-DUO60 7-in-1 Multi-Functional Pressure Cooker, 6Qt/1000W
Homemade Yogurt was the first recipe that I made, the day my Instant Pot was delivered. It saves me money and helps to stretch our budget just a little bit further every week.
What kind of Milk to use?
I use skim milk when making home made yogurt in my instant pot, because it is then considered a Fuel Pull for Trim healthy Mamas like me.
You can use higher fat milks although that yogurt would have to be used in an S setting due to the higher fat content. By making this yogurt a Fuel Pull it can be used in any meal setting which makes it more versatile.
You can also use coconut milk or almond milk to make this if you need to be dairy free, just make sure that the yogurt you are using with cultures is also dairy free.
I do recommend starting this in the evening so that the milk cultures while you are sleeping as that is the longest part of this process. And it is a process!!
The reward… Great tasting homemade yogurt that is healthy without added fillers and preservatives.
My recipe calls for a 1/2 gallon of milk due to our family size, however your Instant Pot will hold a full gallon without any issues. This yogurt needs to be eaten within 1 week so adjust accordingly, although it does make some out of this world Strawberry Passion Frozen Yogurt.
I use this Greek Yogurt Maker to strain my yogurt and cheese… it does an amazing job and holds the whey without me having possibilities of spills in the fridge.
Here’s what my yogurt looks like before I blend it into Jigglegurt.

What about Jigglegurt?
I also use the jigglegurt recipe from page 345 of the Trim Healthy Mama cookbook, which doubles the volume of my yogurt
. So if you are looking for ways to save or you have a tight budget it is well worth the effort and investment to make your own yogurt as well as turn it into Jigglegurt weekly.
Jigglegurt has some pretty nifty health benefits in addition to helping the budget, it contains additional vitamin C, collagen and some other healthy additions, if you haven’t already make sure you check it out!
- Serves: 8
- Serving size: ½ cup
- Calories: 92
- Carbohydrates: 12g
- Fiber: 0g
- Protein: 9g
- Cholesterol: 4mg

- 2 quarts milk, skim
- 3 ounces Plain Non-Fat Greek Yogurt (with live cultures)
- Place milk into the inner pot of your instant pot.
- Press the yogurt button and then press adjust. The display will read boiL, and will then begin to heat the milk.
- When Instant pot beeps and display shows Yogrt on the display. remove lid and take the temperature of the milk, it should be 180 degrees. If it is not, press the saute button and bring your milk to 180 degrees.
- When Milk reaches 180 degrees shut the IP off and remove inner liner to a cool water bath. Stir milk and change the water until the milk gets to 100 degrees.
- Stir in 3 ounces or ½ cup Plain Non-Fat Greek Yogurt with live cultures. Dry the exterior of your inner pot and place back into the Instant Pot. Press yogurt and adjust the time to 8 hours (you can go longer but the finished yogurt will be tart in comparison. Allow the yogurt to culture the full cycle.
- Remove Inner pot lightly stir yogurt and whey. Place inner pot into the refrigerator for 4-6 hours to cool.
- Strain Yogurt in a colander lined with cheese cloth (I use 4 layers) or in a yogurt maker like this one in the refrigerator for aprox 2-4 hours
- ** this step can be done just after the yogurt cycle finishes, however you will normally see a lot more whey and the yogurt will not be as creamy when finished.
- I normally take my yogurt at this stage and make Jigglegurt from The Trim Healthy Mama Cookbook page 345
This yogurt lasts about 1-2 weeks in the refrigerator.
Use of higher fat milks cause the fuel type to change to an S and those batches can only be used in S meal settings.


Shawnda Kirchmeier says
The ingredients list states 3 oz. of Greek yogurt while the instructions indicate 6 oz. Which amount is needed? I’m very excited to attempt this yogurt and then make the cheese! Thank you so much for sharing 🙂
Judy says
I normally use 6 with a full gallon and 3 with a 1/2 sorry I will correct that 🙂
Christine says
I look forward to trying it! I am a huge yogurt fan. There is nothing like the sweet taste of fresh homemade yogurt!
Lisa says
Thank you for sharing. This is my third attempt, & I know it takes a bit to completely get the hang of it, but in my first two attempts, my yogurt seemed much too thin. I had a lot of whey left. I use raw goat milk at $14/gallon, so we eat it aanyway. But, I sure would like to know how folks are getting it so thick?
Thank you also for the ease of getting to the actual recipe!
I appreciate your help.
Judy says
I have never made it with goats milk, so am not sure if I can answer your question but am going to try.
some of the things that helps me to get mine thicker are
** I refrigerate the yogurt before straining.
*** I allow my yogurt to strain anywhere from 2 to 24 hours in the fridge (it seems to lower the amount of whey)
But again I have never made it with goats milk so am not sure if those ideas will help you, I also make mine into jigglegurt from the Trim Healthy Mama Cookbook (the gelatin helps is set up a bit firmer)
Pamela Hair says
Hi. I have learned that raw milk has its own set of cultures. Sometimes they compete with the cultures of kefir and yogurt and then don’t work out as well. If you don’t mind, you could try pasteurizing yourself goat’s milk first and see if that works out better.
Cynthia says
Lisa – Did you use 3 or 6oz of culture? Too much will cause a thinner yogurt.
larisa says
when buying the yogurt with the live culture how do i know which ones have it? any specific brand?
Judy says
Normally it says “with live active cultures” near the ingredients — I’ve used chobani and oikos
Sherry T says
Trying your recipe to make my first batch of yogurt EVER. This recipe gives me the confidence to try. If I only use one quart of milk should I use only 1/4 cup of yogurt instead of the 1/2 cup for doing 2 quarts?
Sherry T says
Also, should the 8 hours be venting or sealed under pressure? Mine did not seal (pop up) even after an hour into it.
Judy says
The yogurt feature does not need to be in the sealing position 🙂
Judy says
yes ma’am
Judi R says
I find that I have burnt milk in my pot at the end of the boil cycle not matter how much I stir it. Do you have any suggestions?
Judy says
The only thing I can think of is to stir it, that always seems to fix hat problem for me.
Cher says
Why do I need to ‘re-pasteurize’ (heat to 180) pasteurized milk from the store? Since I am straining it anyway to make it Greek, I do not understand this step. Thanks.
Judy says
Heating your milk to 180 reopens the proteins so that the culture can take better, but you could try it a different way if you like 🙂
Kimmer says
Hello there!
I’ve made full fat yogurt with whole milk and it was great, but I’m wondering if this would still be considered 000 yogurt if I were to use skim milk and then strain it through cheesecloth to make Greek yogurt? I assume straining out the whey will condense the calories/fat still in the yogurt. How would that work?
Thanks for any ideas!
Judy says
Yes if you use fat free milk and strain it becomes a Fuel Pull like the triple zero 🙂 If you do not strain the yogurt it can be used in an E setting 🙂
Michele says
This comment is just for anyone that struggled with pushing “more” to reach the boil feature. On my ip-duo 8qt I had to press yogurt a second time to reach that feature. Pressing “more” merely adds time on my machine.
Thanks for the easy to follow directions Judy; I’m giving this a try for my first ever yogurt attempt.
Michele says
Hey Judy, once you make your own yogurt, can you use some of it for the live cultures you need for the next batch?
Judy says
Yes I save back a small amount to use as the starter for my next batch 🙂
Susan says
Is there any need to adjust the temperature of the hot milk for high altitude? Where water typically boils at 212 at sea level, mine boils at about 202 (I’m at 5500 feet).
Judy says
not that I am aware of