Cold Start Yogurt is a wonderful way to save some time in the kitchen and we all love that! This cold start yogurt recipe can be used in your journey to Trim & Healthy without fail. It will also save you a couple dollars in the grocery budget.
This post may contain affiliate links to Amazon or other programs. I do earn a small commission from the sales made through these links; however your price never changes. You can see my Full Disclosure here
One ingredient that we seem to go through week after week is Greek Style Yogurt. Personally, I normally make mine a Fuel Pull so that it can be used in all meal settings for the Trim Healthy Mama Plan.
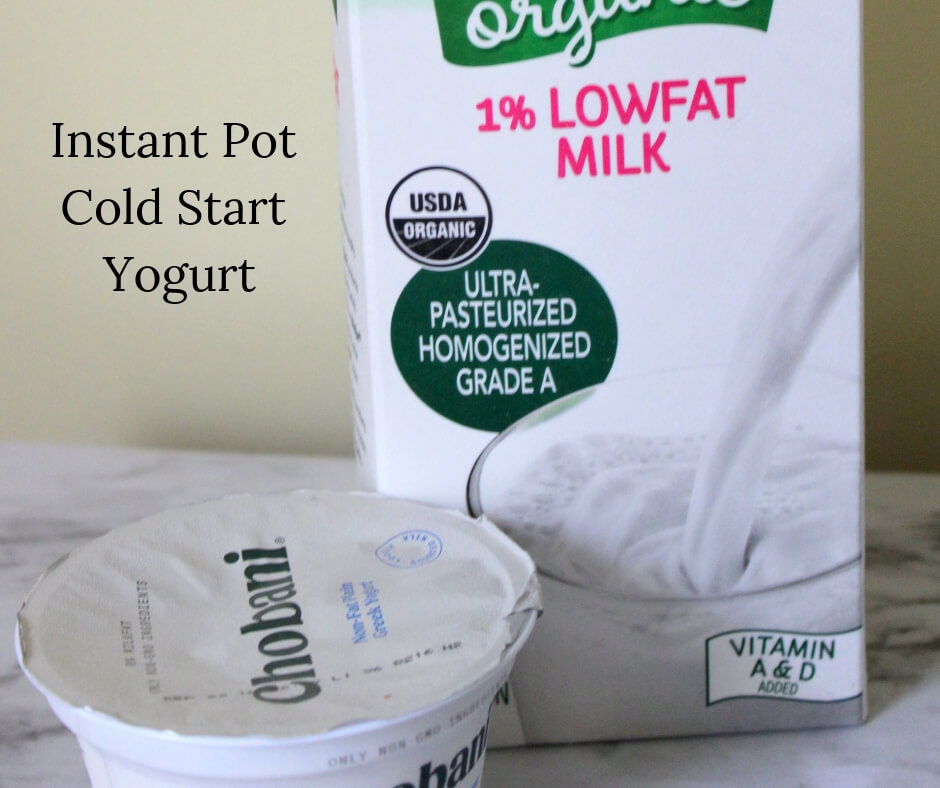
Using ultra pasteurized milk allows you to skip a couple of steps in traditional yogurt making which will save about 30 minutes to an hour of prep time. If you have regular milk you may want to check out my post on Homemade Yogurt in My Instant Pot to make sure you are following the Trim Healthy guidelines for yogurt making.
Why Ultra Pasteurized Milk
Using ultra pasteurized milk can be a bit tricky when making yogurt. If you reheat it many times it will fail in yogurt making. By allowing this type of milk to culture at lower temperatures it tends to have better results with less scorching as well as thicker yogurt.
Keeping Your Cold Start Yogurt On Plan with Trim Healthy Mama
One of the questions that I see asked most often is “What fuel type is my yogurt?” Here is a bit of a breakdown about how the fat content of your milk effects keeping your yogurt in the correct fuel setting when following a Trim Healthy Lifestyle.
You should strain your cold start yogurt into Greek style to ensure that you are removing the whey which is where most of the carbs live in your yogurt.
Unstrained yogurt is best kept to E meals due to the higher carb counts from the whey.

0% Milk or Skim Milk
When strained this yogurt becomes a fuel pull as it has no fat content.
* This is my “go to” style of homemade yogurt *
1% Milk
This milk contains 1% milk fat, it can be used as a fuel pull option however you need to make sure that you are accounting for the fat content per serving in your E and Fuel Pull meals.
2% Milk
2 percent milk is typically kept to S meals due to the higher fat content.
While this yogurt is creamier and more satisfying than 0 or 1% it also can add up quickly in the fat grams if you aren’t careful.
4% or Full Fat Milk
Yogurt made with 4 percent or higher milk fat should be kept in S meals.
It makes some of the best frozen yogurts like this Strawberry Passion Frozen Yogurt and can be used in place of sour cream in cheesecakes.
* Remember Full Fat yogurt is great for your little ones and those needing crossovers.
Goats Milk & Others
I am still doing research and experiments with these types of milks. It takes time as I have to also eat the yogurts that I make.
You will see some future posts on these I am sure.
Why I Use An Instant Pot Mini
I love using my 3qt Instant Pot Duo Mini because it frees up my 6qt Instant Pot Duo
for other things. Making smaller batches of yogurt ensures that we eat all of it before it starts to go bad.
Some of the benefits of having the smaller 3qt Instant Pot are:
- I can use both pots during a prep day
- It cooks smaller recipes, vegetables and grains without tying up my larger pot.
- It fits wonderfully in our camper
- It is the perfect size for our family of two
- It has all the same functions as my larger Instant Pot
How To Strain Your Cold Start Yogurt
You can use a colander with cheesecloth, a nut bag or a really cool yogurt strainer to strain the whey from your cold start or homemade yogurt.
I adore these yogurt strainers because I can cold strain my yogurt into Homemade Yogurt Cheese in my fridge without worry of anything getting into them.
I can stack both of the ones that I own on top of each other saving space in my refrigerator or on the counter.

Make sure you are following me on Facebook, Twitter, Flipboard, Google+ and Instagram to keep up with all the new and exciting things I will be posting in 2018.
How To Make Cold Start Yogurt
- Serves: 8
- Calories: 88
- Carbohydrates: 12g
- Sodium: 129mg
- Fiber: 0g
- Protein: 9g
- Cholesterol: 5mg

- 2 quarts skim milk (ultra pasteurized)
- 2 tablespoons 0% greek yogurt
- Pour your Ultra Pasteurized milk into your liner.
- Stir in the 2 Tablespoons of yogurt
- Place lid onto your Instant Pot
- Press the yogurt button until it shows 8 hours (see notes about adjusting the ferment time)
- Allow milk to culture.
- When your Instant Pot beeps, you can strain your yogurt right away or chill it for 30 minutes or a few hours before straining. (see notes)
Other Posts You May Find Helpful:
Homemade Yogurt in My Instant Pot
Shakes & Smoothies to Find Your Healthy Trim
Cereal Recipes to Find Your Healthy Trim


[…] Cold Start Yogurt (with S & E options) from Wonderfully Made and Dearly Loved […]